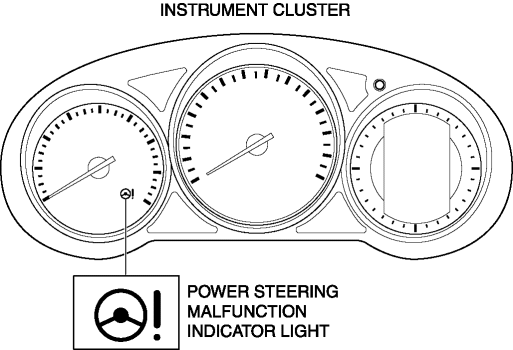
Mazda CX-5 Service & Repair Manual: Power Steering Malfunction Indicator Light
Purpose
-
The power steering malfunction indicator light warns the driver that there is a malfunction with the electric power steering (EPS) system.
Function
-
If there is a malfunction in the EPS system, the power steering malfunction indicator light illuminates.
-
If the EPS system and CAN lines are normal, it illuminates when the ignition is switched ON (engine off), and turns off after the engine is started.
Construction
-
The power steering malfunction indicator light is built into the instrument cluster.
Operation
-
EPS system malfunction detection
-
If the EPS control module (CM) detects a system malfunction, it sends a power steering malfunction indicator light illumination on request signal to the instrument cluster via CAN.
-
The instrument cluster illuminates the power steering malfunction indicator light when it receives a power steering malfunction indicator light illumination on request signal.
-
Initial check
-
If the EPS system and CAN lines are normal, it illuminates when the ignition is switched ON (engine off), and turns off after the engine is started. If there is a system malfunction, the power steering malfunction indicator light illuminates.
Fail-safe
-
Function not equipped.
 Oil Control Valve (OCV) [Skyactiv G 2.0]
Purpose, Function
The OCV switches the oil passage to the hydraulic variable valve timing actuator
to control the opening/closing period of the exhaust valve.
Construction
The O ...
 Pressure Control Valve Inspection [Skyactiv G 2.0]
1. Remove the pressure control valve assembly..
CAUTION:
Do not apply a pressure 36 kPa {0.37 kgf/cm2, 5.2 psi} or more. Doing so
will damage the pressure control valve and evaporative ho ...
Other materials:
Washer Nozzle
Purpose
The washer nozzle sprays the washer fluid sent from the washer motor to the
optimum positions on the windshield.
Construction
A ball-shaped spray orifice is set inside the washer nozzle which can be
adjusted up or down.
The washer nozzle is moved u ...
Odometer/Tripmeter
Purpose
The odometer/tripmeter notifies the user of the total travel distance or
the traveled distance over a specific interval.
Function
The instrument cluster calculates the traveled distance based on the traveled
distance signal from the PCM and displays it.
The ...
Rear Drive Shaft Inspection
1. Inspect each connecting part for looseness.
Tighten or replace parts if necessary.
2. Inspect the dust boot on the drive shaft for cracks, damage, leaking grease,
and looseness in the boot band.
3. Inspect the drive shaft for bends, cracks, and wear in the joints or splines. ...
