Mazda CX-5 Service & Repair Manual: Efficient Removal Of Body Panels
Body Measurements
-
Before removal or rough?cutting, first measure the body at and around the damaged area against the standard reference dimension specifications. If there is deformation, use frame repair equipment to make a rough correction.
Prevention of Body Deformation
-
Use a clamp or a jack for removal and reinforce at and around the rough?cutting location to prevent deforming of the body.
Selection of Cut?and?join Locations
-
For parts where complete replacement is not feasible, careful cutting and joining operations should be followed. If the location to be cut is a flat area where there is no reinforcement, the selected cutting location should be where the welding distortion will be minimal.
Removal of Associated Parts
-
Protect moldings, garnishes, and ornaments with tape when removing associated parts.
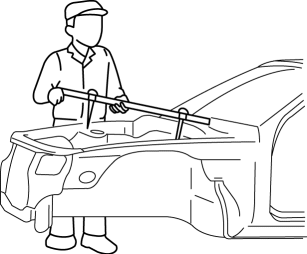
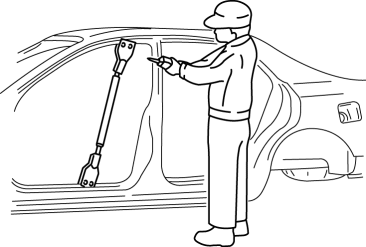
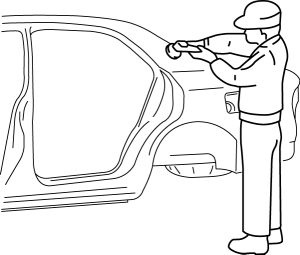
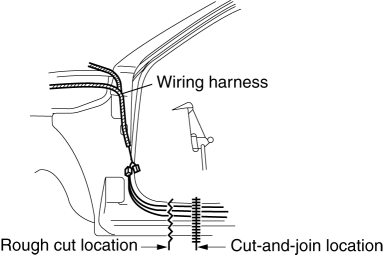
Rough Cutting of Damaged Panel
-
Verify that there are no parts (such as pipes, hoses, and wiring harness) nearby or on the opposite side of a panel which could be damaged by heat.
-
For cut?and?join areas, allow for an overlap of 30—50 mm {1.2—1.9 in} and then rough?cut the damaged panel.
 Efficient Installation Of Body Panels
Checking Preweld Measurements And Watching
Align to the standard reference dimensions, based upon the body dimensions
illustration, so that new parts are installed in the correct position.
...
 Energy Absorbing Form Removal/Installation
1. Disconnect the negative battery cable..
2. Remove the seal board upper..
3. Remove the front bumper..
4. Insert the flathead screwdriver shown in the figure, push fasteners A for
back side ...
Other materials:
Starter Interlock Switch Removal/Installation [C66 M R]
1. Disconnect the negative battery cable..
2. Disconnect the starter interlock switch connector.
3. Remove the starter interlock using the following procedure:
a. Detach hook A in the direction of the arrow shown in the figure.
b. Slide the starter interlock switch in the direction of th ...
Rear Seat Back Removal/Installation
CAUTION:
When removing or putting in the rear seat, contact with the surrounding areas
of the vehicle could cause scratches and damage. When removing or putting in
the rear seat, always use two or more persons to perform the work and be careful
not to scratch or damage the rear seat ...
Side Air Bag Sensor [Standard Deployment Control System]
Purpose
The side air bag sensor detects an impact during a lateral collision.
Function
The side air bag sensor converts the detected impact to an electrical signal.
Construction
The side air bag sensor is built into the crash sensor.
Two side air bag sensors ...
