Mazda CX-5 Service & Repair Manual: Power Window Subswitch Removal/Installation
1. Disconnect the negative battery cable..
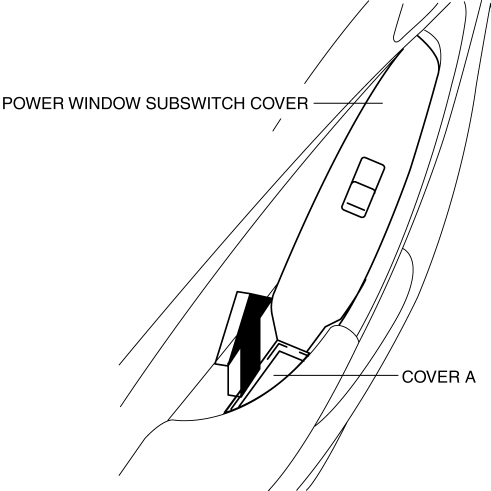
2. Remove the cover A.
3. Insert a tape-wrapped fastener remover shown in the figure and remove the tab B in the direction of arrow (1).

4. Slide the power window subswitch cover in the direction of the arrow (2) shown in the figure and remove the tab C.
5. Disconnect the power window subswitch connector.
6. Pull the edge of power window subswitch cover in the direction of arrow (3) and detach the tab D.
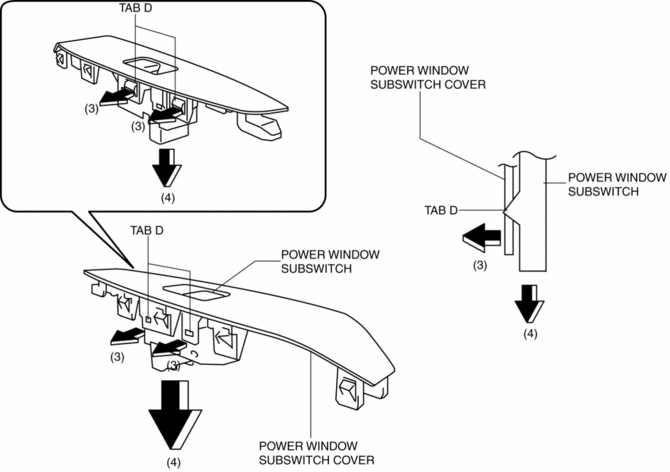
7. Remove the power window subswitch in the direction of arrow (4) shown in the figure.
8. Install in the reverse order of removal.
 Power Window Subswitch Inspection
1. Disconnect the negative battery cable..
2. Remove the power window subswitch..
3. Verify that the continuity between the power window subswitch terminals is
as indicated in the table.
...
 Power Window System
Outline
A power window system that enables automatic opening/closing of the door
glass has been adopted.
The driver's side door glass can be opened/closed automatically or manual ...
Other materials:
Rear Door Latch And Lock Actuator Inspection
The following actuator and switch are integrated with the rear door latch
and lock actuator.
From the actuator/switch name and operation in the following table, select
the actuator or switch to be inspected, and perform the inspection following
the inspection procedure des ...
Controller Area Network (Can) Outline
The Electric Power Steering (EPS) control module sends and receives data
to and from other modules via the CAN..
Data sent
EPS status
Power steering malfunction indicator light on request
Steering angle
Data received
Vehicle speed
Engine spe ...
Headlight Aiming
NOTE:
Perform headlight aiming if any of the following work is performed.
Front combination light replacement
Work that can affect vehicle height such as suspension replacement or
removal/installation.
1. Empty the vehicle by having all occupants leav ...
