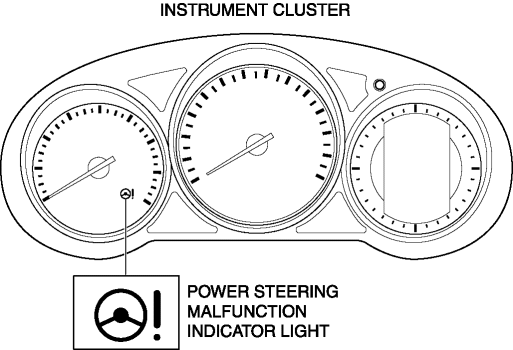
Mazda CX-5 Service & Repair Manual: Power Steering Malfunction Indicator Light
Purpose
-
The power steering malfunction indicator light warns the driver that there is a malfunction with the electric power steering (EPS) system.
Function
-
If there is a malfunction in the EPS system, the power steering malfunction indicator light illuminates.
-
If the EPS system and CAN lines are normal, it illuminates when the ignition is switched ON (engine off), and turns off after the engine is started.
Construction
-
The power steering malfunction indicator light is built into the instrument cluster.
Operation
-
EPS system malfunction detection
-
If the EPS control module (CM) detects a system malfunction, it sends a power steering malfunction indicator light illumination on request signal to the instrument cluster via CAN.
-
The instrument cluster illuminates the power steering malfunction indicator light when it receives a power steering malfunction indicator light illumination on request signal.
-
Initial check
-
If the EPS system and CAN lines are normal, it illuminates when the ignition is switched ON (engine off), and turns off after the engine is started. If there is a system malfunction, the power steering malfunction indicator light illuminates.
Fail-safe
-
Function not equipped.
 Panel Light Control Indicator Alarm
Purpose
The panel light control indicator alarm notifies the driver that the panel
light brightness is either at maximum or minimum.
Function
If the panel light control switch i ...
 Seat Belt Warning Alarm
Purpose
The seat belt warning alarm warns occupants that a seat belt is not fastened.
Function
The instrument cluster sounds the seat belt warning alarm based on the following
C ...
Other materials:
Security Indicator Light
Purpose
Notifies the driver that the immobilizer system is operating.
Function
If a malfunction is detected in the immobilizer system, the DTC can be verified
by the flashing pattern of the security indicator light.
Construction
The security indicator light is bui ...
Sas Control Module Configuration (Using Read/Write Function) [Standard Deployment
Control System]
NOTE:
When performing configuration, it is necessary to read the vehicle specification
information from the SAS control module before replacing it. Connect the M-MDS
to the vehicle and perform vehicle identification before removing the SAS control
module. The vehicle specification i ...
Canister Vent (Cv) Solenoid Valve Inspection
U.S.A. And CANADA
Airflow inspection
1. Disconnect the negative battery cable..
2. Remove the CV solenoid valve..
3. Inspect airflow between the ports under the following conditions.
Measured condition
Continuity between A—B
When volta ...
