Mazda CX-5 Service & Repair Manual: Discharge Headlight Service Warnings
Discharge Headlight Service Warnings
-
When replacing a discharge headlight bulb, performing the servicing with the negative battery cable connected or in a wet work area could result in electrocution. When replacing a discharge headlight bulb, perform the servicing under the following conditions:
-
Switch the ignition to off and disconnect the negative battery cable.
-
Perform the servicing out of the rain and in a dry work area.
-
Thoroughly dry your hands.
-
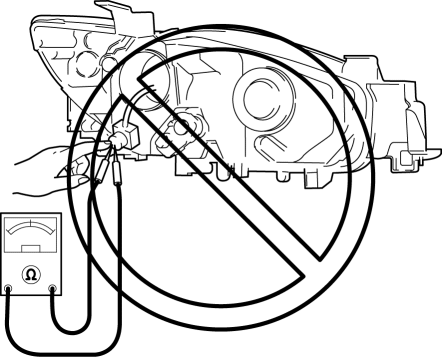
Because the discharge headlight bulb connector instantly produces approx. 25,000 V
of high voltage, inserting a finger or a tester probe could result in electrocution. When turning the light switch on, do not insert a finger or tester probe into the discharge headlight bulb connector.

-
If a discharge headlight bulb is illuminated before completely assembling the discharge headlight related parts to a front combination light, it could result in electrocution. Before illuminating the discharge headlights, completely assemble the discharge headlight related parts to the front combination lights and install the front combination lights to the vehicle.
Discharge Headlight Control Module Servicing Warnings
-
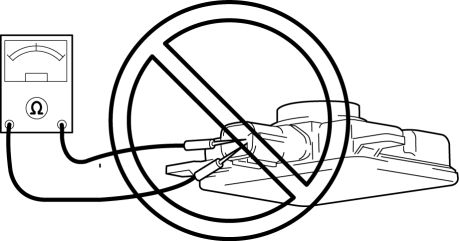
If the discharge headlight control module tester is used to do a part inspection or the discharge headlight control module is disassembled, electrocution could result from the high voltage around the module. Do not do a part inspection of or disassemble the discharge headlight control module.

Reusing Discharge Headlight Control Module
-
A discharge headlight control module damaged in an accident could leak high voltage around the module and cause electrocution. In addition, even if the discharge headlights are illuminated without any exterior damage to the module, an illumination malfunction could occur after a period of time has elapsed due to internal damage of a module. If a discharge headlight control module is reused, perform the following inspection and verify that the module is not malfunctioning.
-
Perform the tests for the discharge headlight bulb several times under cold-bulb conditions (turn off the discharge headlight bulb for approx. 10 min or more
, then turn it on) and under warm-bulb conditions (turn on the discharge headlight bulb for approx. 15 min or more
, turn it off for approx. 1 min
, then turn it on again), and verify that the discharge headlight bulb turns on normally.
-
Inspect the discharge headlight bulb illumination until it illuminates evenly directly after cold-bulb illumination for approx. 5 min
, and verify that the discharge headlight bulb illumination has no flicker or uneven brightness level.
-
Equip with normal discharge headlight bulbs and turn them on for approx. 30 min
, and verify that the illumination condition is stabilized with no difference in brightness level between left and right.
 Discharge Headlight Control Module Removal/Installation
WARNING:
Incorrect servicing of the discharge headlights could result in electrical
shock. Before servicing the discharge headlights, always refer to the service
warnings..
1. Disc ...
 Discharge Headlight System
Outline
The discharge headlight system utilizes a gas discharge type light to emit
a white light resembling sunlight over a wide area. Also, use of the gas discharge
type light realizes h ...
Other materials:
Rear Crossmember Removal/Installation [Awd]
WARNING:
Verify that the crossmember is securely supported by a jack. If the rear
crossmember falls off, it can cause serious injury or death, and damage to the
vehicle.
CAUTION:
Performing the following procedures without first removing the rear ABS wheel-speed
sensor ...
Crankshaft Position (CKP) Sensor
Purpose/Function
Detects the crankshaft speed as basic information for mainly determining
the fuel injection timing and ignition timing.
Detects the crankshaft speed and inputs it to the PCM as a CKP signal.
Construction
Installed on the side of the cylinder block (ri ...
St 001/12 Special Service Tool Shipment January 2013
APPLICABLE MODEL(S)/VINS
2014 Mazda6
2014 CX-5
DESCRIPTION/PRICING
In support of the new 2014 Mazda6 and the 2014 CX-5, Mazda will ship to all dealers
one (1) new Special Service Tool (SST). The SST will be shipped automatically by
Mazda’s tool vendor, SPX during January 2013.
The followi ...
