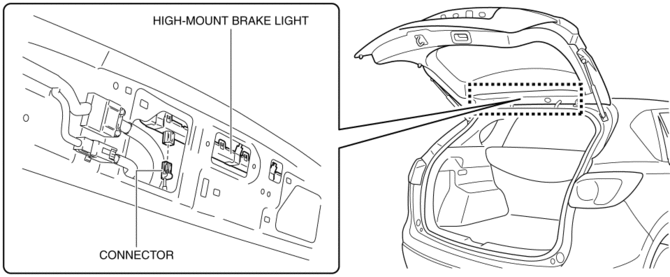
Mazda CX-5 Service & Repair Manual: High Mount Brake Light Removal/Installation
1. Disconnect the negative battery cable..
2. Remove the liftgate upper trim..
3. Remove the rear spoiler..
4. Disconnect the connector.
5. While pressing the high-mount brake light tab in the direction of arrow (1) shown in the figure, press the high-mount brake light in the direction of arrow (2) to detach the high-mount brake light and liftgate.
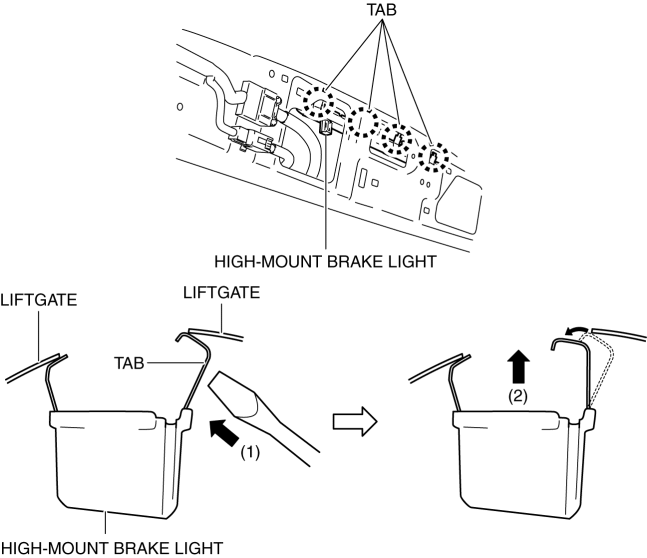
6. Detach all the high-mount brake light tabs and liftgate and remove the high-mount brake light from the liftgate.
CAUTION:
-
If the high-mount brake light is removed from the liftgate, the high-mount brake light may fall off and be damaged. When removing the high-mount brake light from the liftgate, hold the high-mount brake light on the lens side with a hand during servicing.
7. Install in the reverse order of removal.
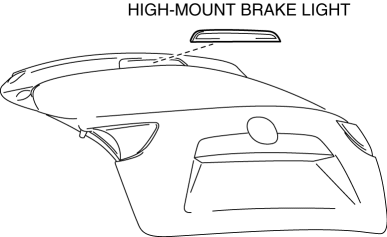
 High Mount Brake Light
Purpose
The high-mount brake light signals vehicles to the rear that the vehicle
is stopped.
Function
The high-mount brake light illuminates in conjunction with the operation
...
 License Plate Light
Purpose
The license plate lights shine light on the license plate during nighttime
driving.
Function
The license plate lights illuminate in conjunction with the operation of
...
Other materials:
Rear Seat Back Frame Removal/Installation
CAUTION:
When performing the procedure with a rear seat removed from the vehicle,
perform the procedure on a clean cloth so as not to damage or soil the seat.
6:4 Split Type
1. Remove the trunk board..
2. Remove the rear seat back..
3. Remove the headrest.
4. Open fasteners A ...
Main Relay Control [Skyactiv G 2.0]
Outline
Supplies power to each part by switching the main relay on/off at the optimal
timing according to the vehicle conditions.
Block Diagram
Operation
When the ignition is switched ON, the main relay turns on and electrical
power is supplied to each sensor and devic ...
Precaution
Intermittent Concern Troubleshooting
Vibration method
If a malfunction occurs or becomes worse while driving on a rough road or
when the engine is vibrating, perform the following steps.
NOTE:
There are several reasons why vehicle or engine vibration could cause an
electr ...
