Mazda CX-5 Service & Repair Manual: Rear Pillar (Outer) Installation [Panel Replacement]
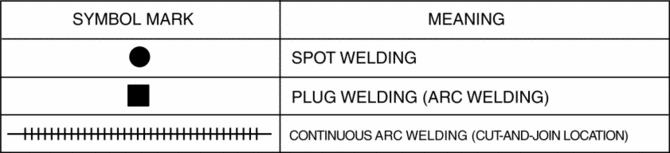
Symbol Mark
Installation Procedure
1. When installing new parts, measure and adjust the body as necessary to conform with standard dimensions.
2. Drill holes for the plug welding before installing the new parts.
3. After temporarily installing new parts, make sure the related parts fit properly.
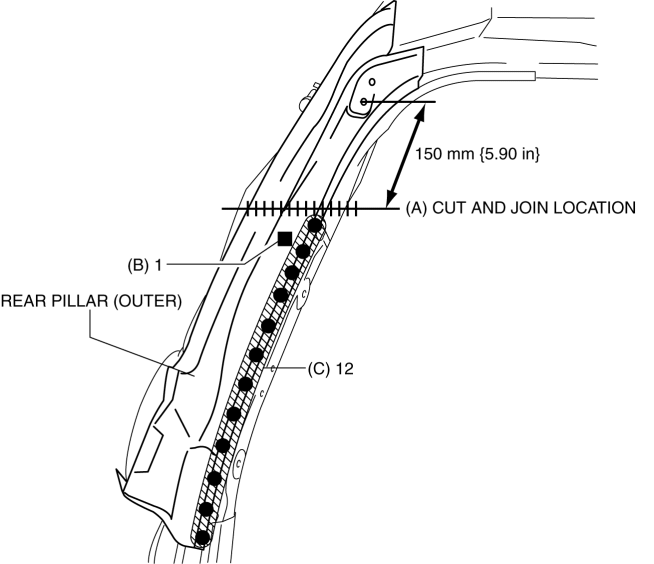
4. Cut and join the area location indicated by (A) shown in the figure.
5. Plug weld the 1 location indicated by (B) shown in the figure.
6. Spot weld the 12 locations indicated by (C) shown in the figure, then install the rear pillar (outer).
 Rear Crossmember Removal/Installation [Awd]
WARNING:
Verify that the crossmember is securely supported by a jack. If the rear
crossmember falls off, it can cause serious injury or death, and damage to the
vehicle.
CAUTION:
...
 Rear Pillar (Outer) Removal [Panel Replacement]
Symbol Mark
Removal Procedure
1. Rough cut area location indicated by (A) shown in the figure.
2. Drill the 10 locations indicated by (B) shown in the figure.
3. Remove the rear pillar ( ...
Other materials:
Efficient Removal Of Body Panels
Body Measurements
Before removal or rough?cutting, first measure the body at and around the
damaged area against the standard reference dimension specifications. If there
is deformation, use frame repair equipment to make a rough correction.
Prevention of Body Deformation
...
Receiver/Drier Removal/Installation
1. Disconnect the negative battery cable..
2. Discharge the refrigerant..
3. Remove the front under cover No.1..
4. Drain the engine coolant..
5. Remove the following parts:
a. Plug hole plate.
b. Air cleaner, air hose and fresh air duct component.
c. Coolant reserve tank.
d. Cooling ...
Front Seat Back Component Removal/Installation
WARNING:
Handling a side air bag improperly can accidentally operate (deploy) the
air bag, which may seriously injure you. Read the service warnings/cautions
in the Workshop Manual before handling the front seat (side air bag integrated)..
If the sliding mechanisms on both side ...
