Mazda CX-5 Service & Repair Manual: Transmission/Transaxle SST
1: Mazda SST number
2: Global SST number
Example
|
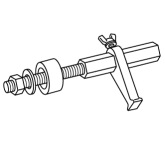
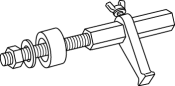
1:49 UN30 3009 2:303-009 Crankshaft damper remover |
|
Clutch [C66M-R]
|
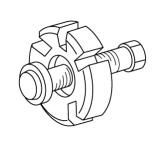
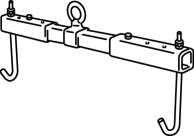
1:49 E011 1A0 2: – Ring gear brake set |
|
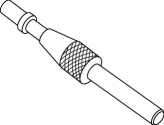
1:49 SE01 310A 2: – Clutch disc center tool |
|
1:49 1285 071 2: – Bearing puller |
|

Manual Transaxle [C66M-R]
|
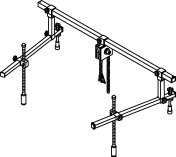
1:49 UN30 3050 2: 303-050 Engine lifting brackets |
|
1:49 C017 5A0 2: – Engine support set |
|
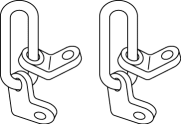
1:49 L017 5A0 2: – Support hanger |
|
|
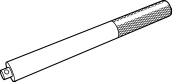
1:49 G030 797 2: – Handle (Part of 49 G030 795) |
|
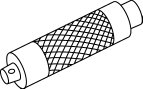
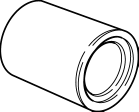
1:49 U027 003 2: – Oil Seal Installer |
|
– |
|

Automatic Transaxle [FW6A-EL, FW6AX-EL]
|
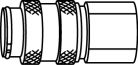
1:49 D019 910 2: – Adapter (Part of 49 D019 9A2) |
|
1:49 D019 911 2: – Adapter (Part of 49 D019 9A2) |
|
1:49 D019 913 2: – Adapter (Part of 49 D019 9A2) |
|
|
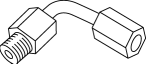
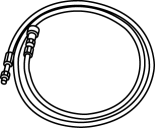
1:49 D019 909 2: – Hose (Part of 49 D019 9A2) |
|
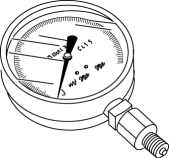
1:49 D019 908 2: – Gauge (Part of 49 D019 9A2) |
|
1:49 D019 907 2: – Oil pressure gauge (Part of 49 D019 9A2) |
|
|
1:49 UN30 3050 2: 303-050 Engine lifting brackets |
|
1:49 C017 5A0 2: – Engine support set |
|
1:49 L017 5A0 2: – Support hanger |
|
|
1:49 E011 1A0 2: – Ring gear brake set |
|
1:49 G030 797 2: – Handle (Part of 49 G030 795) |
|
1:49 U027 003 2: – Oil Seal Installer |
|
|
1:49 G030 796 2: – Body (Part of 49 G030 795) |
|
1:49 F027 003 2: – Handle |
|
1:49 U034 204 2: – Dust boot installer |
|

 Transmission/Transaxle Identification
Each Transmission/Transaxle is assigned a specific Mazda type code. The code
can be broken down as follows:
...
 Up Switch Inspection [Fw6 A EL, Fw6 Ax EL]
Continuity Inspection
NOTE:
The up switch is built into the selector lever component.
1. Disconnect the negative battery cable..
2. Remove the front console..
3. Disconnect the sele ...
Other materials:
D Pillar Speaker Removal/Installation
1. Disconnect the negative battery cable..
2. Remove the following parts:
a. Trunk board.
b. Trunk end trim.
c. Rear scuff plate.
d. Trunk side trim.
e. D-pillar trim.
3. Disconnect the connector.
4. Remove the screws.
5. Remove the D-pillar speaker.
6. While pressing the tab ...
Lumber Support Motor Removal/Installation
WARNING:
Handling a side air bag improperly can accidentally operate (deploy) the
air bag, which may seriously injure you. Read the service warnings/cautions
in the Workshop Manual before handling the front seat (side air bag integrated)..
If the sliding mechanisms on both side ...
Liftgate Lower Trim Removal/Installation
1. Remove the following parts:
a. Liftgate upper trim.
b. Liftgate side trim.
c. Liftgate recess.
2. Remove fasteners A.
3. Take the shaded area shown in the figure, and pull the liftgate lower trim
in the direction of the arrow in the order of (1), (2), (3), (4) and remove it while ...
