Mazda CX-5 Service & Repair Manual: Rear Fender Panel Removal [Panel Replacement]
Symbol Mark

Removal Procedure
CAUTION:
-
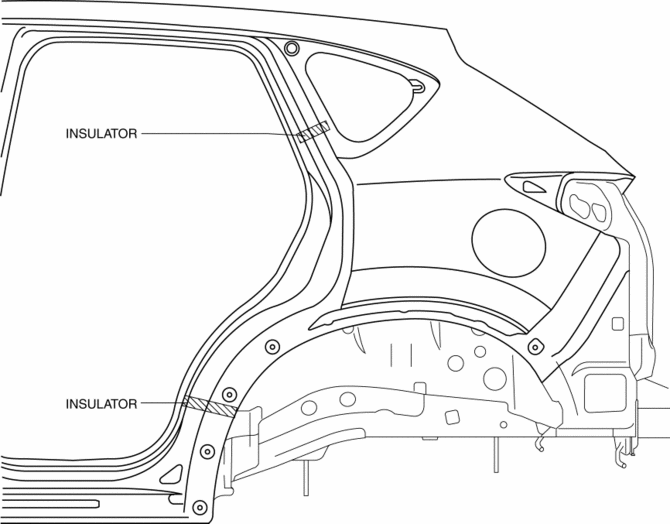
Avoid cutting with a blowtorch or similar tools as the insulator (shaded area) is flammable.
1. Rough cut the 3 locations indicated by (A) shown in the figure.
2. Drill the 90 locations indicated by (B) shown in the figure.
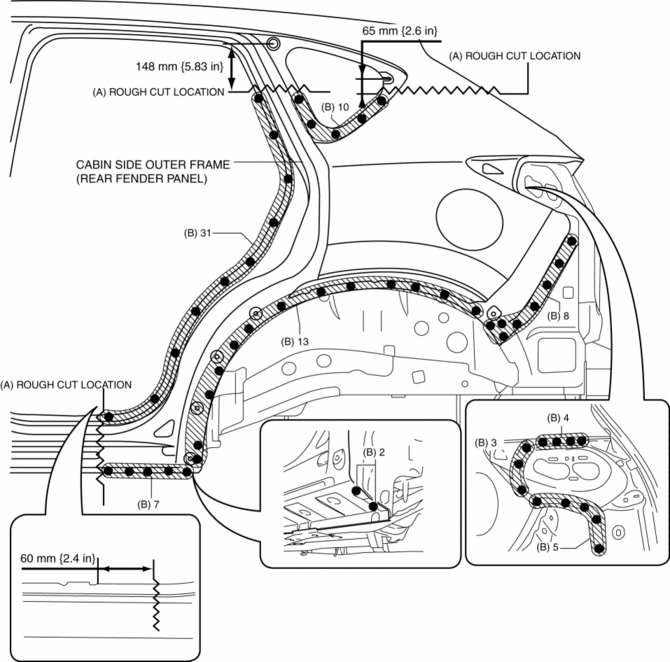

3. Remove the cabin side outer frame (rear fender panel).
 Rear Fender Panel Installation [Panel Replacement]
Symbol Mark
Installation Procedure
1. When installing new parts, measure and adjust the body as necessary to conform
with standard dimensions.
2. Drill holes for the plug welding before inst ...
 Rear Over Fender Removal/Installation
1. Remove fasteners A.
2. Pull the rear over fender in the direction of the arrow while removing clips
B.
3. Install in the reverse order of removal. ...
Other materials:
Front Door Speaker Removal/Installation
Without Bose®
NOTE:
If the procedure is performed while holding the front door speaker cone,
it could deform the cone causing a malfunction. Therefore, perform the procedure
while holding any part other than the cone.
1. Disconnect the negative battery cable..
2. Remove the f ...
Fuel Pump Relay
Purpose, Function
Controls the fuel pump on/off according to control signals from the PCM.
The fuel pump is operated only at engine start or when the engine is running
to improve safety.
Construction
The fuel pump relay is installed in the relay and fuse block.
...
On/Off Solenoid [Fw6 A EL, Fw6 Ax EL]
Purpose/Function
The on/off solenoid performs switching of the shift valve in the control
valve body according to the vehicle conditions.
Construction
The on/off solenoid is installed to the solenoid control valve body.
The on/off solenoid is a normal open-type on/off ...
