Mazda CX-5 Service & Repair Manual: Drive Belt Auto Tensioner Inspection
WARNING:
-
A hot engine can cause severe burns. Turn off the engine and wait until it is cool before servicing.
CAUTION:
-
If the rubber part of the drive belt auto tensioner is damaged by a screwdriver or other tool, oil in the hydraulic pressure unit could leak and the tensioner may not operate normally. Be careful not to damage the rubber part of the drive belt auto tensioner.
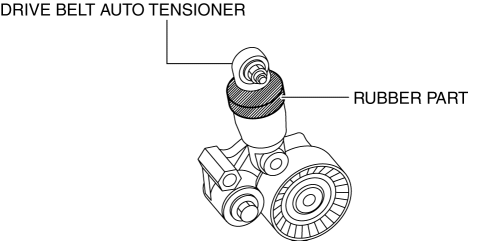
1. Remove the generator drive belt..
CAUTION:
-
To prevent damage to the drive belt auto tensioner, do not apply excessive torque after the tensioner moves full-stroke.
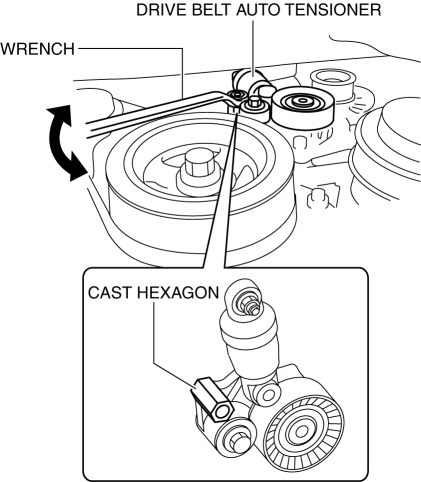
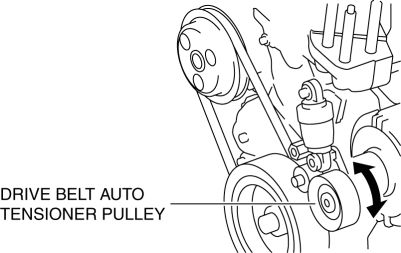
2. Insert the wrench into the cast hexagon on the drive belt auto tensioner, slowly turn it in the direction of the arrow shown in the figure, and fully depress.
NOTE:
-
The drive belt auto tensioner is operated in the direction of the arrow by turning the wrench.
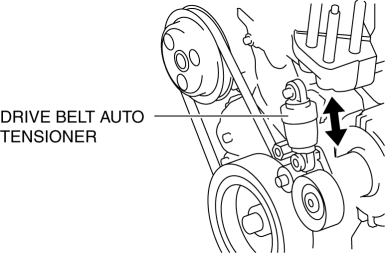
3. Verify that the drive belt auto tensioner moves smoothly in the operational direction.
-
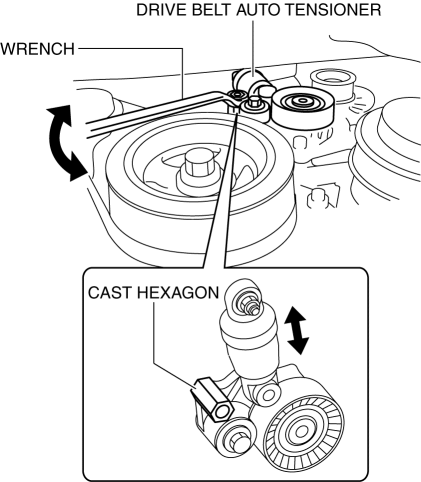
If it does not move smoothly, air infiltration into the inner hydraulic pressure unit can be considered. Move the drive belt auto tensioner up and down at full-stroke three times to bleed the air.
-
After bleeding the air, if the drive belt auto tensioner still does not move smoothly when re-inspecting, replace the drive belt auto tensioner..
NOTE:
-
By moving the drive belt auto tensioner up and down full-stroke three times, the piston inside the tensioner moves to bleed the air.
4. Turn the drive belt auto tensioner pulley by hand and verify that it rotates smoothly.
-
If it does not move smoothly, replace the drive belt auto tensioner..
5. Install the generator drive belt..
 Crankshaft Pulley
Purpose, Function
The crankshaft pulley transmits the drive force to the auxiliary parts via
the drive belt.
The crankshaft pulley suppresses torsional vibration of the crankshaft.
...
 Drive Belt Inspection
Generator Drive Belt
NOTE:
The generator drive belt deflection/tension inspection is not necessary with
the adoption of the drive belt auto tensioner.
1. Verify that the indicator pa ...
Other materials:
Warm Up Three Way Catalytic Converter (Wu Twc) Inspection
CAUTION:
Perform the following procedures, DTC P0421:00 is indicated only.
1. Connect the M-MDS to the DLC-2.
2. Start the engine and warm it up to normal operating temperature.
3. Turn off the engine.
4. Verify that the engine compression is within the specification..
If ...
Passenger Compartment Temperature Sensor Inspection [Full Auto Air Conditioner]
1. Measure the temperature around the passenger compartment temperature sensor
and measure the resistance between passenger compartment temperature sensor terminals
A and B.
If the characteristics of the passenger compartment temperature sensor are
not as shown in the graph, replace t ...
Adjuster Anchor Removal/Installation
WARNING:
The side air bag sensor is attached to the lower part of the B-pillar. When
working around the B-pillar, disconnect the negative battery cable or work carefully,
avoiding excessive impact to the lower part of the B-pillar (with side air bag
sensor No.1).
1. Switch the ...
