Mazda CX-5 Owners Manual: Clock
The time is displayed when the ignition is switched to ACC or ON.
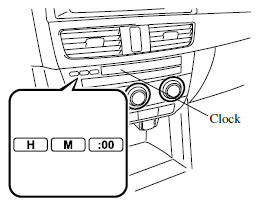
With Fully Automatic Type Climate Control System
With Manual Type Climate Control System
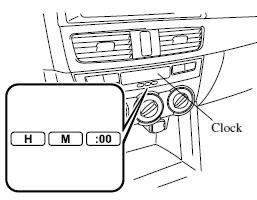
Time setting
1. Switch the ignition ACC or ON.
2. Adjust the time using the time setting buttons (
,  ).
).
The hours advance while the time setting button (
 ) is pressed.
The minutes advance while the time setting button (
 ) is pressed.
Time resetting
1. Switch the ignition to ACC or ON.
2. Press the :00 button.
3. When the button is pressed, the time will be reset as follows:
(Example)
12:01―12:29→12:00
12:30―12:59→1:00
NOTE
When the :00 button is pressed, the seconds will start at “00”.
 Interior Lights
Overhead Lights
Front Map Lights
When the overhead light switch is in the door or off position, press the lens
to illuminate the front map lights, and then press the lens again to turn them of ...
 Accessory Sockets
Only use genuine Mazda accessories or the equivalent requiring no greater than
120 W (DC 12 V, 10 A).
Front
The ignition must be switched to ACC or ON.
Center, Rear
The accessory sockets can b ...
Other materials:
Active Command Modes Inspection [Blind Spot Monitoring (Bsm)]
1. Connect the M-MDS to the DLC-2.
2. After the vehicle is identified, select the following items from the initialization
screen of the M-MDS.
a. Select “DataLogger”.
b. Select “Modules”.
c. Select “BSML” or “BSMR”.
3. Select the simulation items from the PID table.
4. ...
Floor Side Panel Installation [Panel Replacement]
Symbol Mark
Installation Procedure
1. When installing new parts, measure and adjust the body as necessary to conform
with standard dimensions.
2. Drill holes for the plug welding before installing the new parts.
3. After temporarily installing new parts, make sure the related parts fit p ...
Front Body Control Module (Fbcm) Removal/Installation
CAUTION:
If configuration is not performed when the front body control module (FBCM)
is replaced with a new one, the vehicle specification information is not stored
in the front body control module (FBCM) and the system will not operate normally.
When performing configuration, ...
