Mazda CX-5 Service & Repair Manual: Auto Dimming Mirror
Purpose
-
The automatic glare prevention rearview mirror prevents the driver from being affected by light from vehicles at the rear.
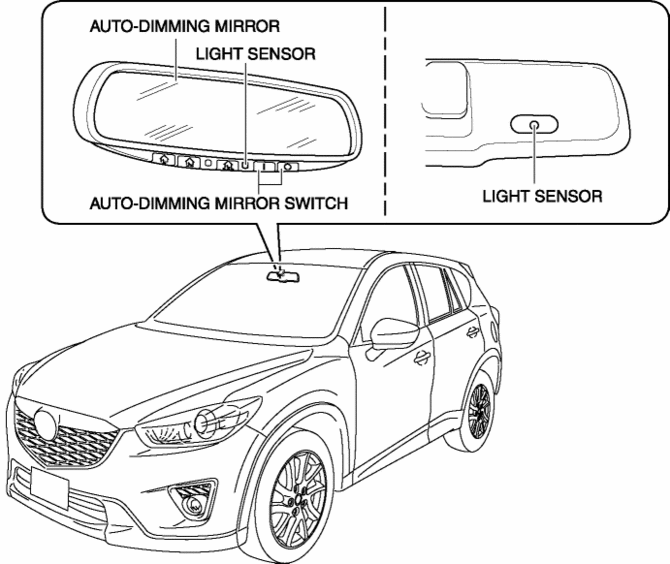
Structural view
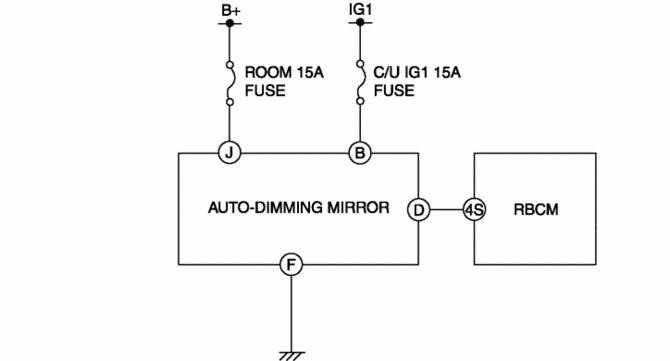
System wiring diagram
Function
-
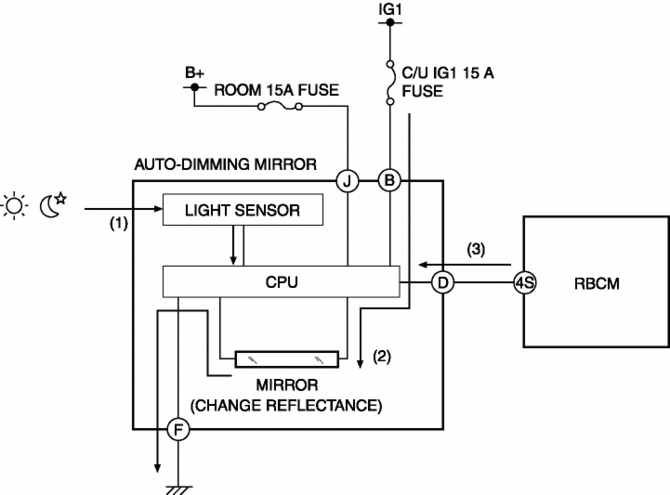
The automatic glare prevention rearview mirror detects the level of the surrounding light and glare from vehicles at the rear using the light sensor.
-
The automatic glare prevention rearview mirror combines the level of the surrounding light and the glare from vehicles at the rear and changes the reflection rate of the mirror between 10% and 70%.
-
When the automatic glare prevention rearview mirror receives a reverse signal from the rear body control module (RBCM), the reflection rate of the mirror is fixed at 70% or more.
Operation
-
When the automatic glare prevention rearview mirror switch is turned on, the mirror switches to automatic glare prevention mode.
-
While in automatic glare prevention mode, the light sensor detects the level of surrounding light and the glare from vehicles at the rear.(1)
-
The automatic glare prevention rearview mirror changes the voltage applied to the mirror according to the level of the surrounding light and the glare from vehicles at the rear.(2)
-
The mirror changes the reflection rate between 10% and 70% according to the voltage that is applied.
-
However, if it receives a reverse signal from the rear body control module (RBCM) (3), the reflection rate of the mirror is fixed at 70% or more.
Fail-safe
-
Function not equipped
 Mirrors
...
 Auto Dimming Mirror Inspection
1. Measure the voltage at each terminal.
If the voltage is not as specified in the Terminal Voltage Table (Reference),
inspect the parts under “Inspection item (s)” and related wiring h ...
Other materials:
Power Window Regulator
Purpose
The power window regulator moves the carrier plate up and down to open/close
the door glass using the rotation force transmitted from the power window motor.
Function
The power window regulator transmits the rotation force from the power window
motor to the inner wi ...
Front Fog Light Removal/Installation
1. Disconnect the negative battery cable..
2. Remove the screws and bolt.
3. Pull up the front under cover No.1 and remove the mudguard screw shown in
the figure.
4. Disconnect the connector.
5. While pressing the clip tab in the direction of the arrow (1) shown in the
figure ...
Warranties for Your Mazda
• New Vehicle Limited Warranty
• Powertrain Limited Warranty
• Safety Restraint System Limited Warranty
• Anti-perforation Limited Warranty
• Federal Emission Control Warranty/California
Emission Control Warranty
• Emission Defect Warranty
• Emission Performance Warranty
• E ...
